Video streaming in Flutter
Video streaming is an important aspect of various kinds of applications, ranging from social media apps like TikTok and Instagram (Reels), which engage users with short video clips, to proprietary video-sharing applications similar to YouTube, which allow users to share medium-length to long videos.
Though a video streaming platform of some kind is an awesome addition to some apps and a spotlight feature in a few apps, managing the infrastructure and handling all the aspects of streaming is a really cumbersome job.
Some of the main steps involved in video streaming are:
- Encoding and decoding the video
- Managing video database storage
- Support for multiple video formats
- Distribution
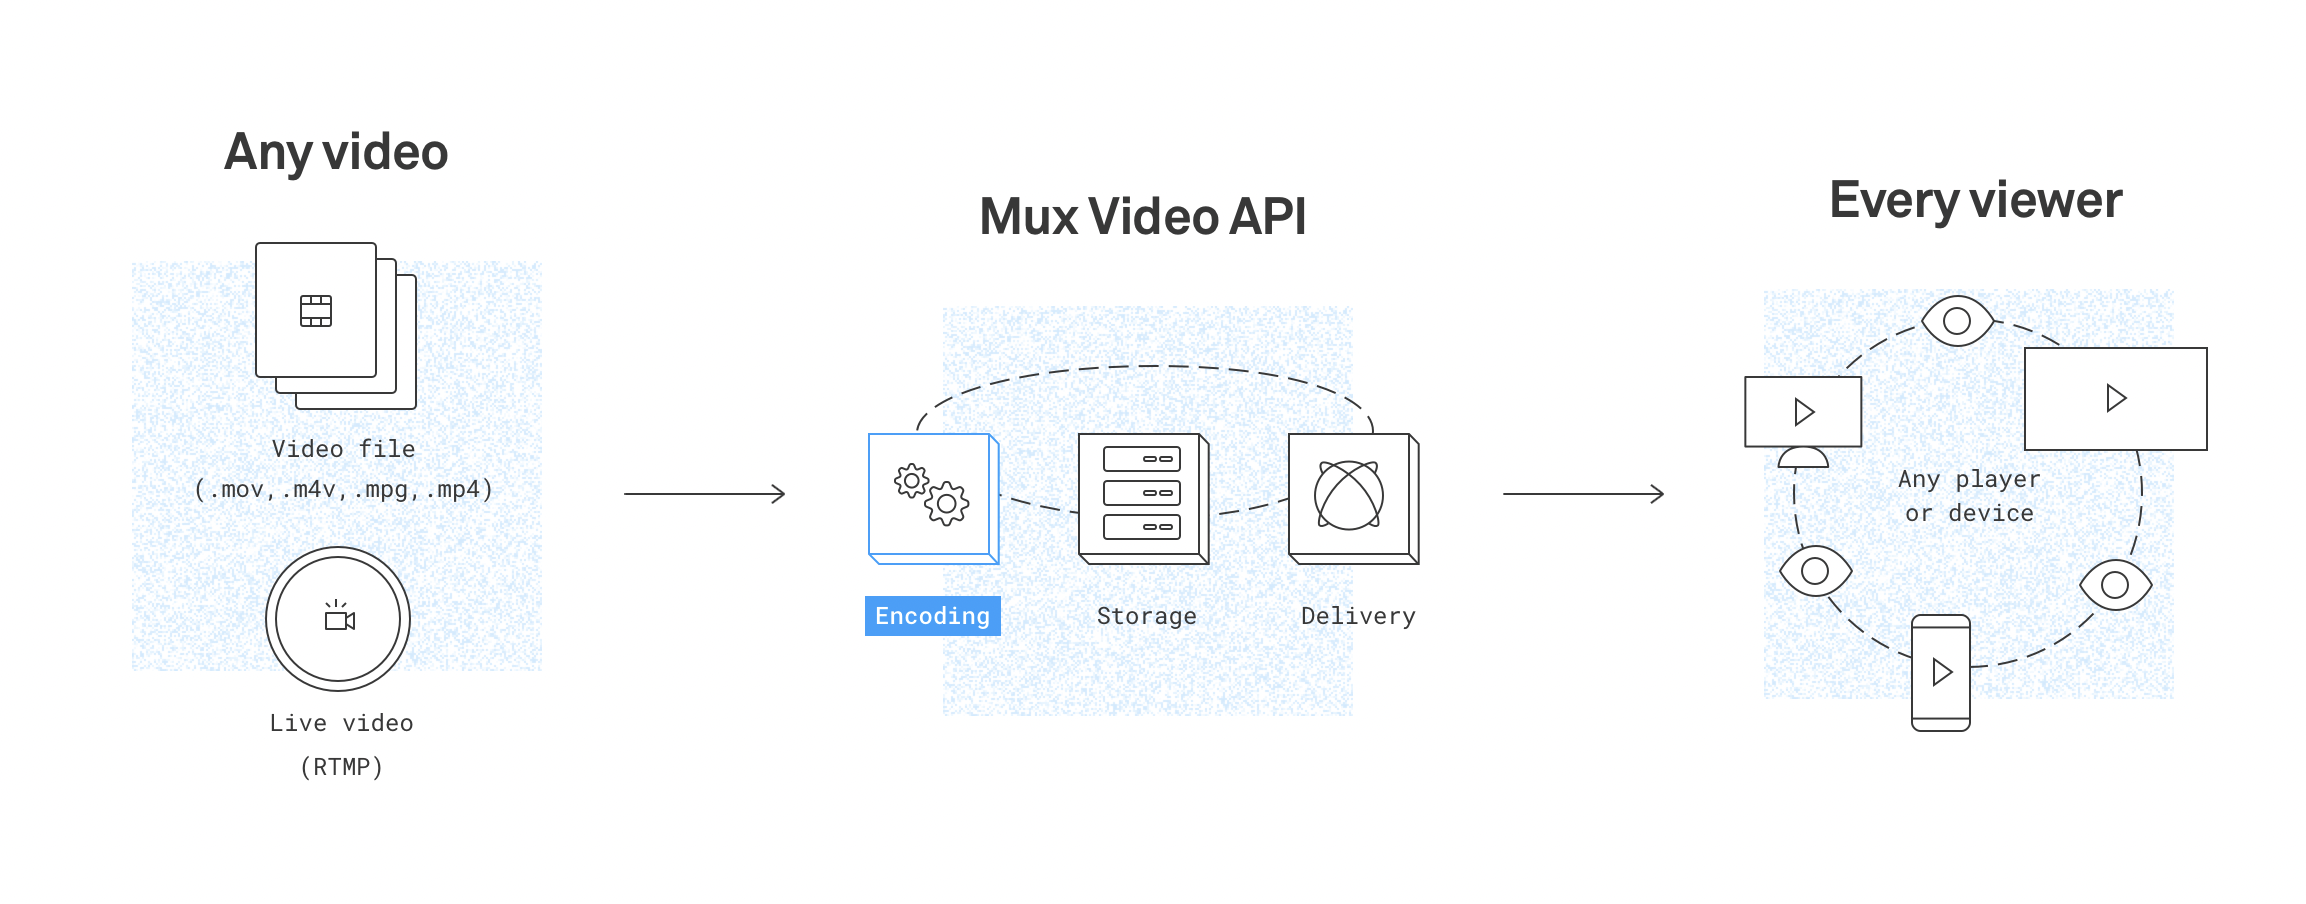
In this article, you will see how Mux helps to handle all the complex steps of the video streaming process and how to integrate it with Flutter.
Getting started
Mux is an API-based video streaming service that handles the encoding and decoding of a video, distributing it to users. On top of that, it also provides a lot of additional features, like subtitles, thumbnails, GIFs, watermarking, etc. It has a data tracking API, which helps to monitor the video streaming performance as well.
Though Mux helps in streaming the video, it doesn’t provide any storage. So, you have to provide the URL where you have stored the video.
To get started using Mux, create an account here.
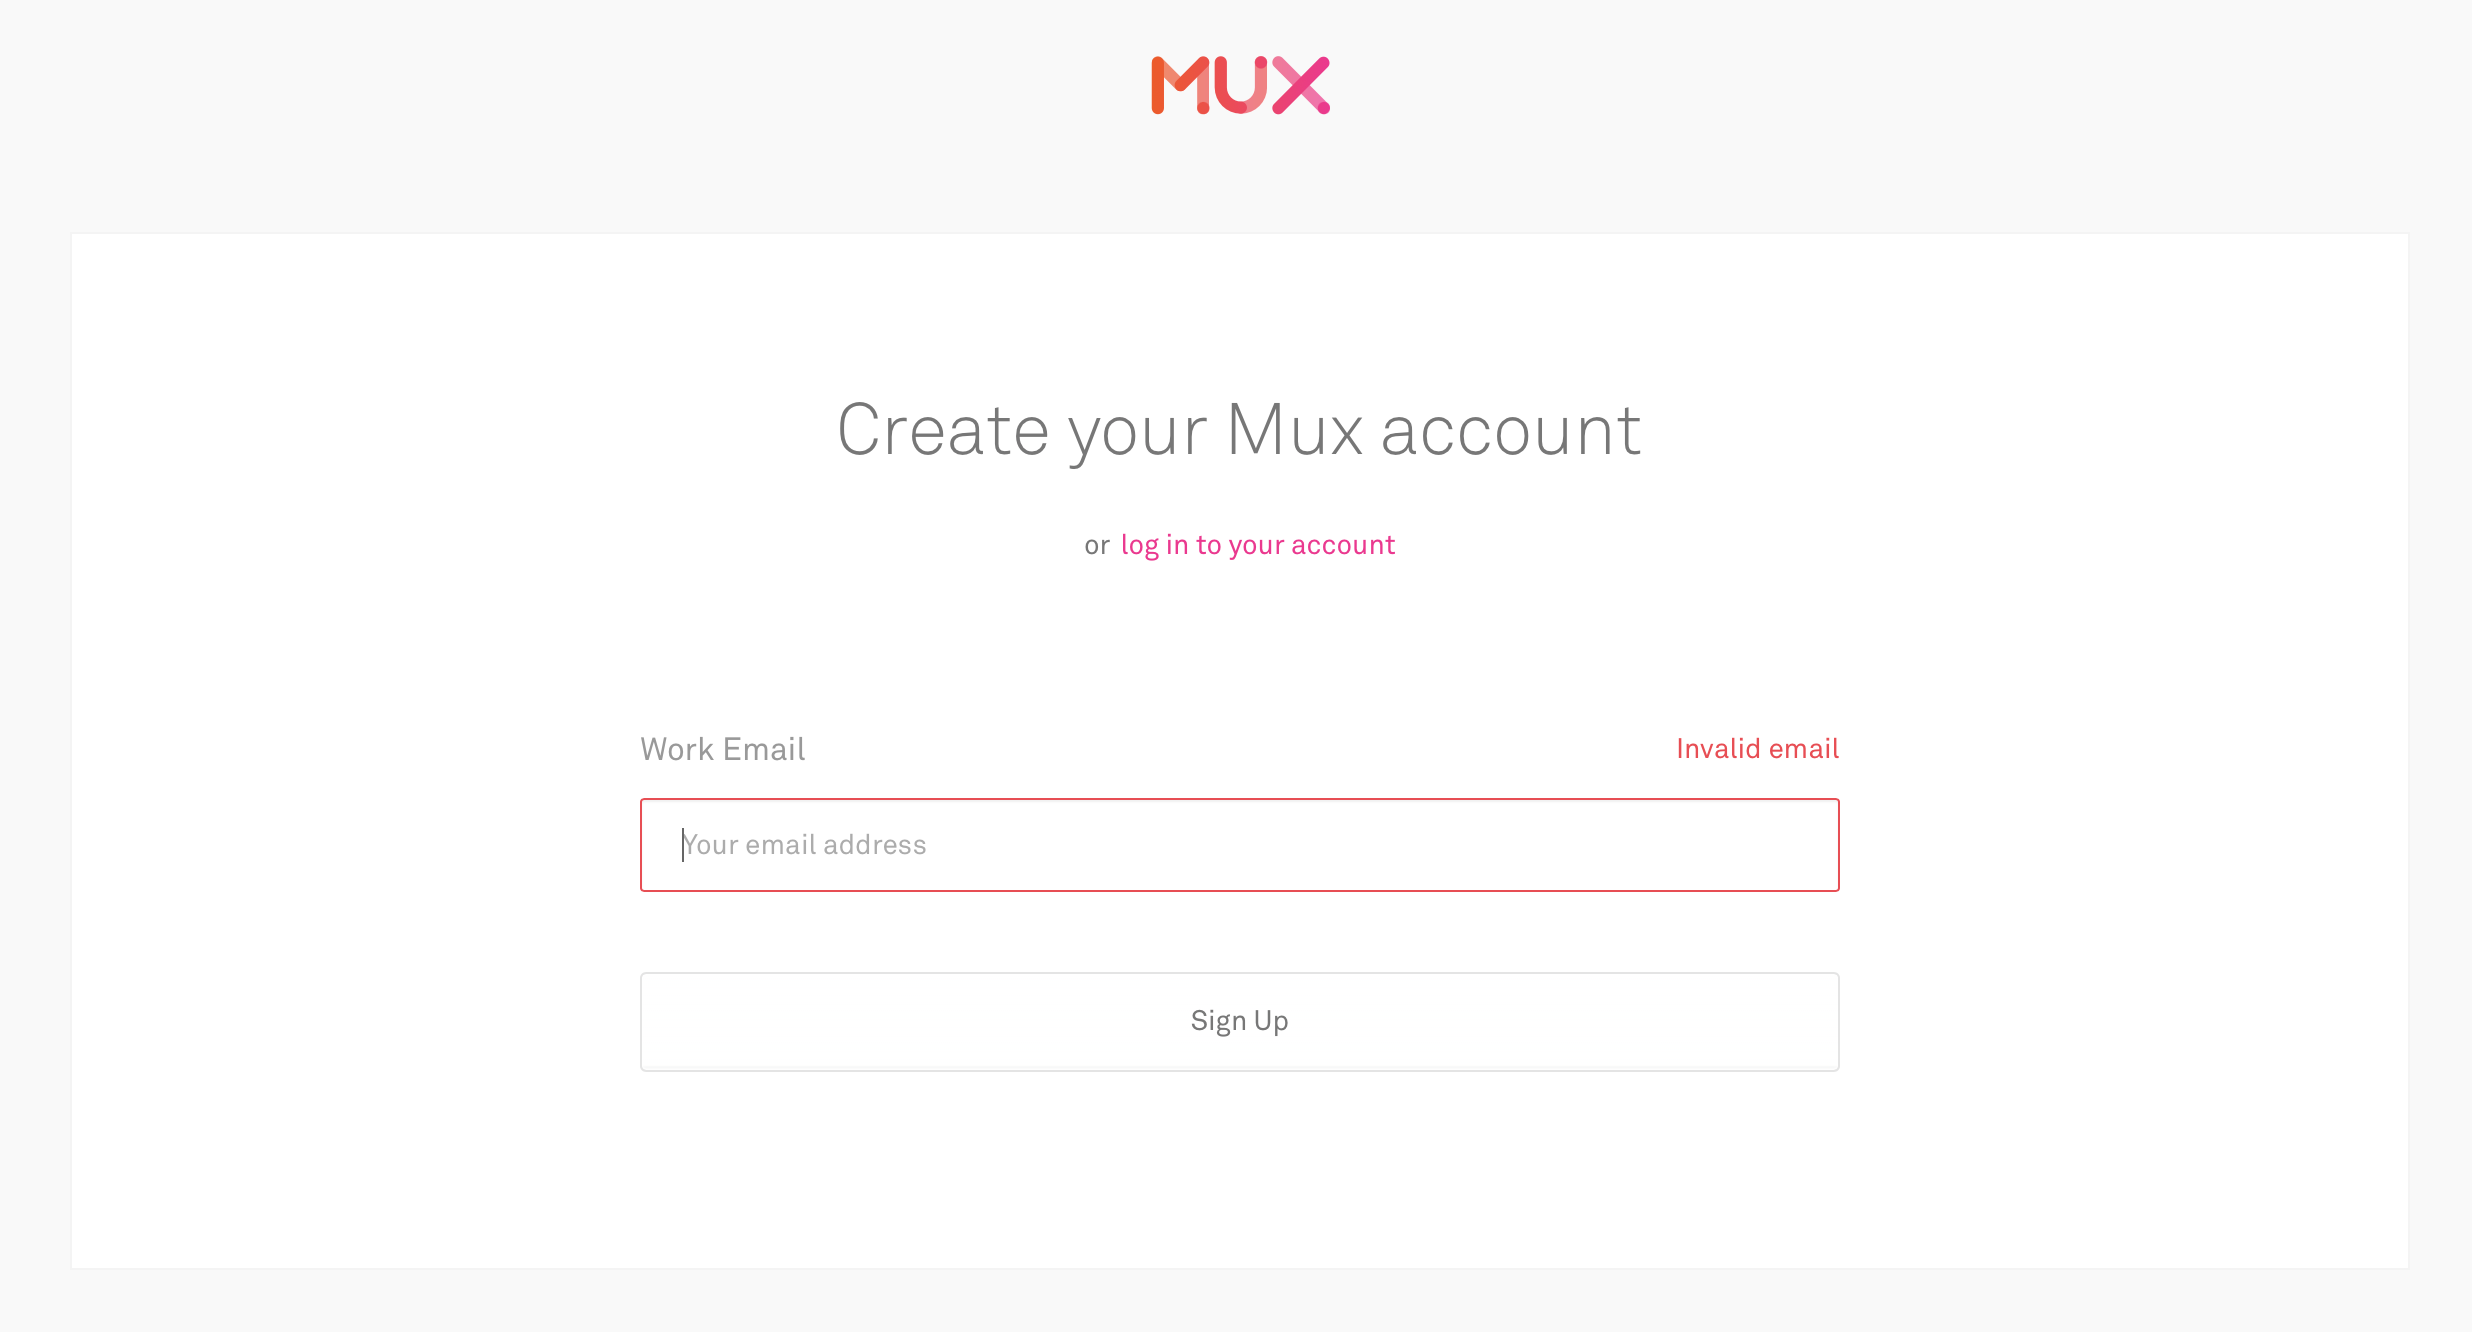
When you log in to Mux, it will take you to the Dashboard.
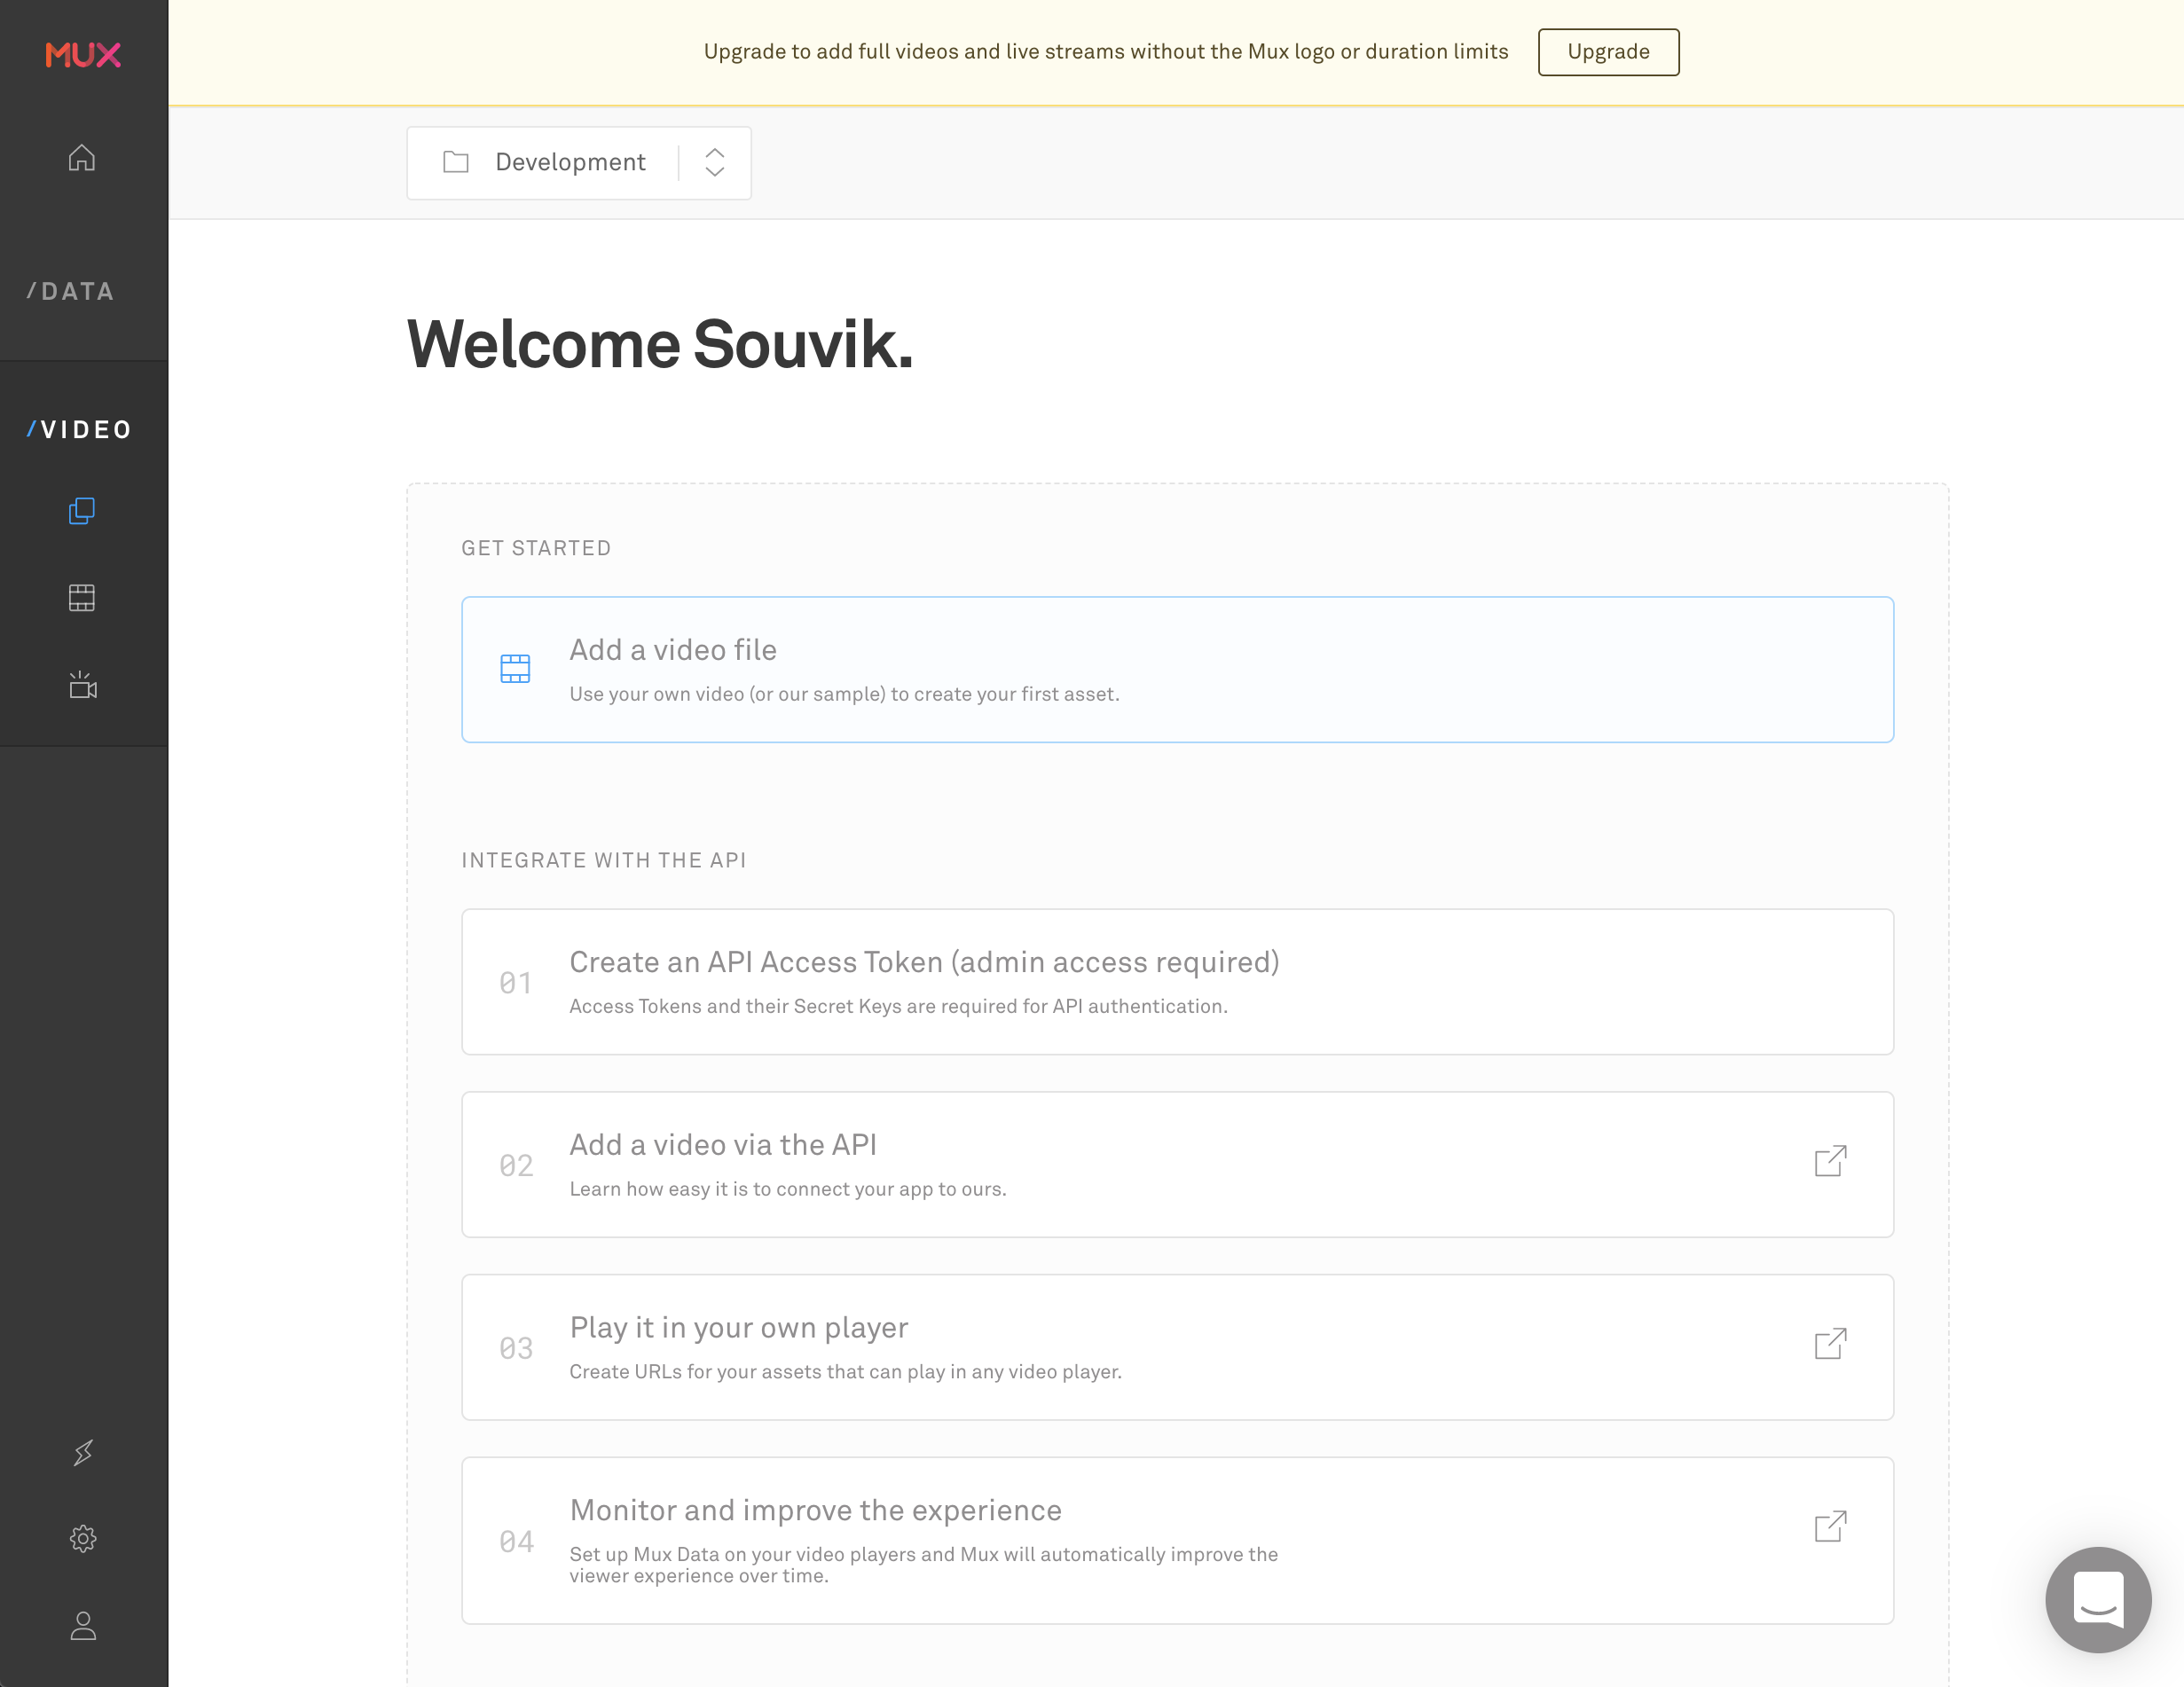
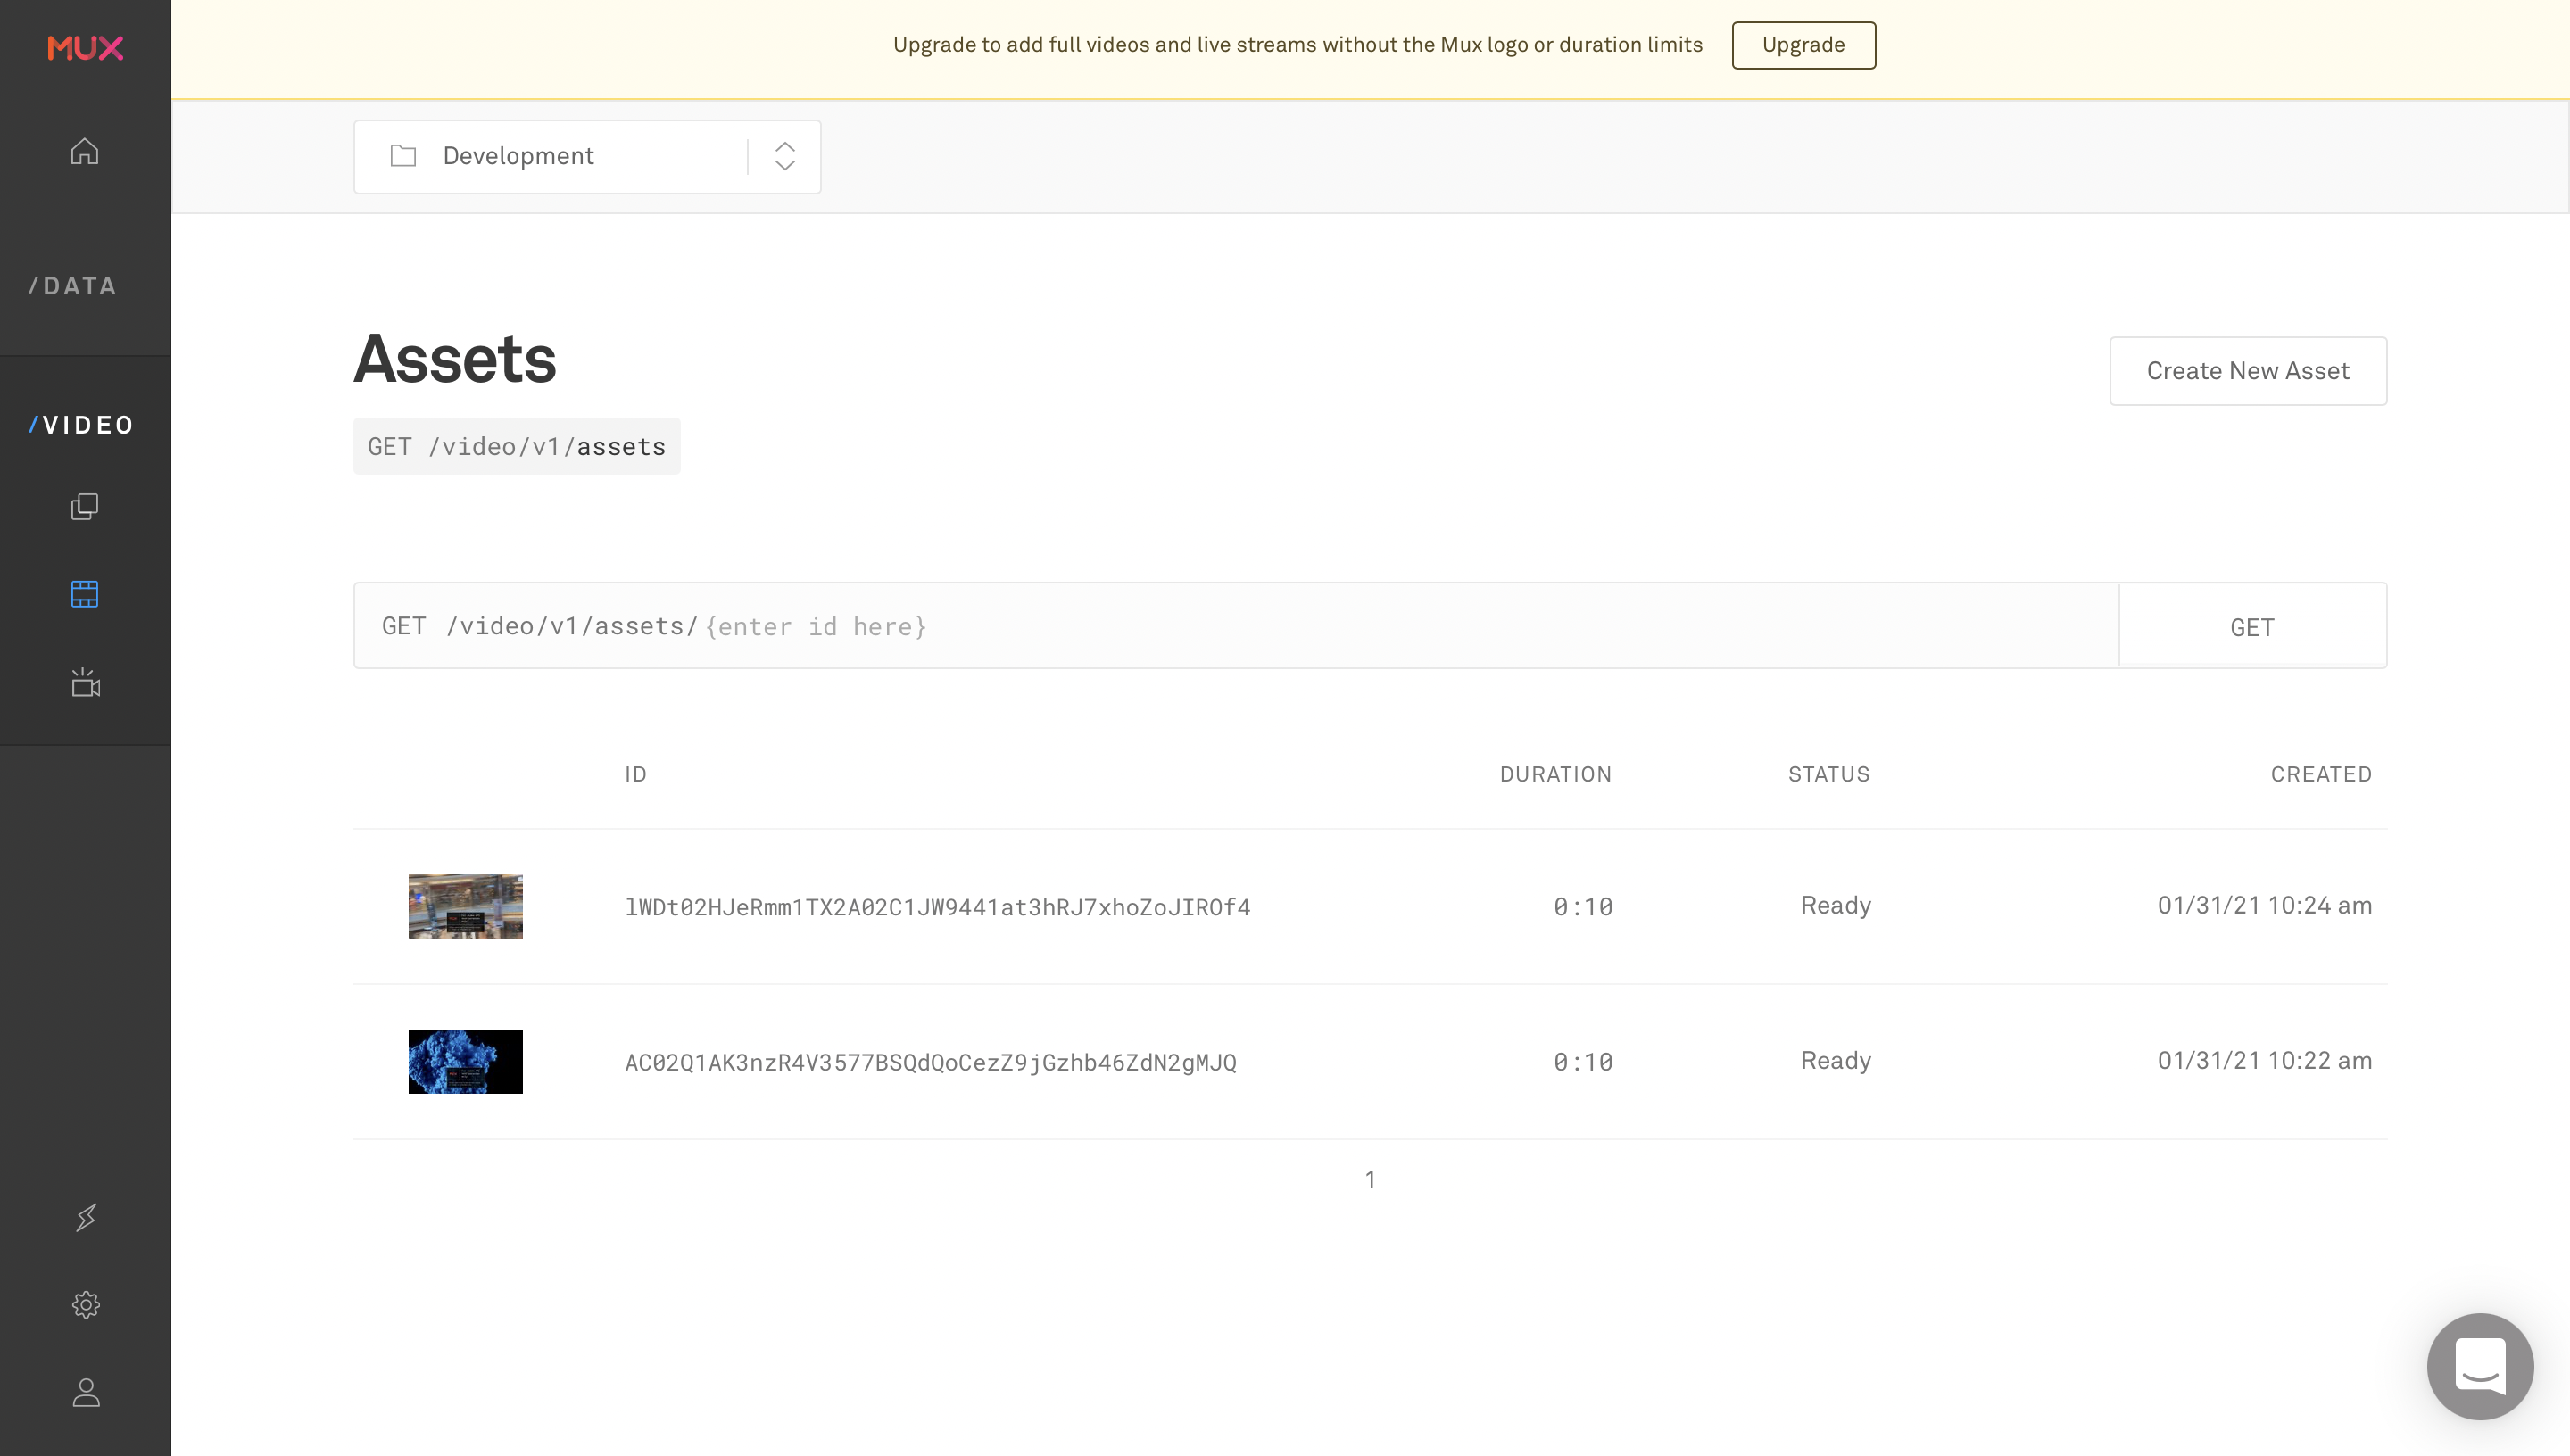
You can try adding a video by going to the Add a video file section and running the POST request with the URL of the video file.

The videos are stored in the Assets section of Mux.
In order to use the Mux API, you will need to generate an API Access Token from here.
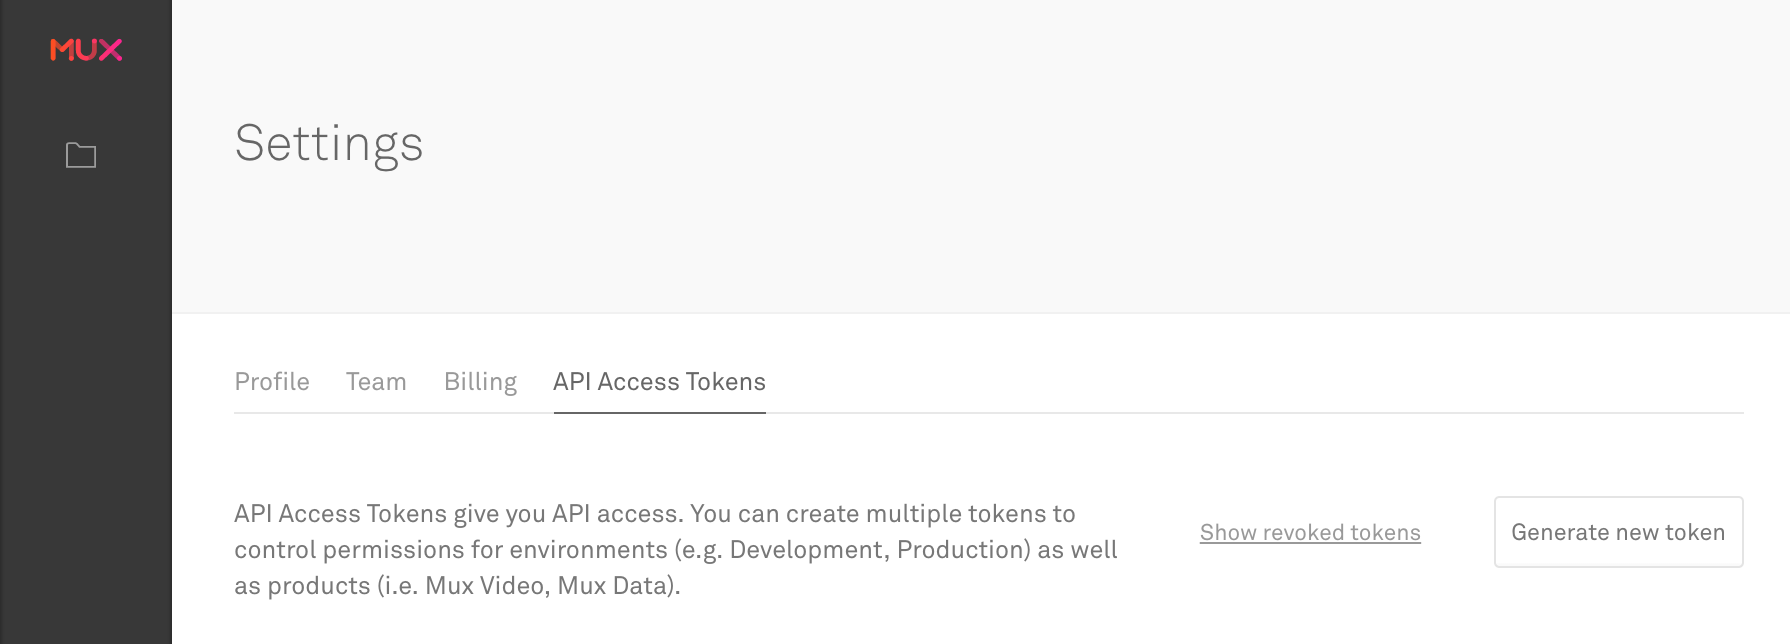
Fill in the details properly, and click on Generate Token.

This will generate a Token ID and Token Secret for API authentication.
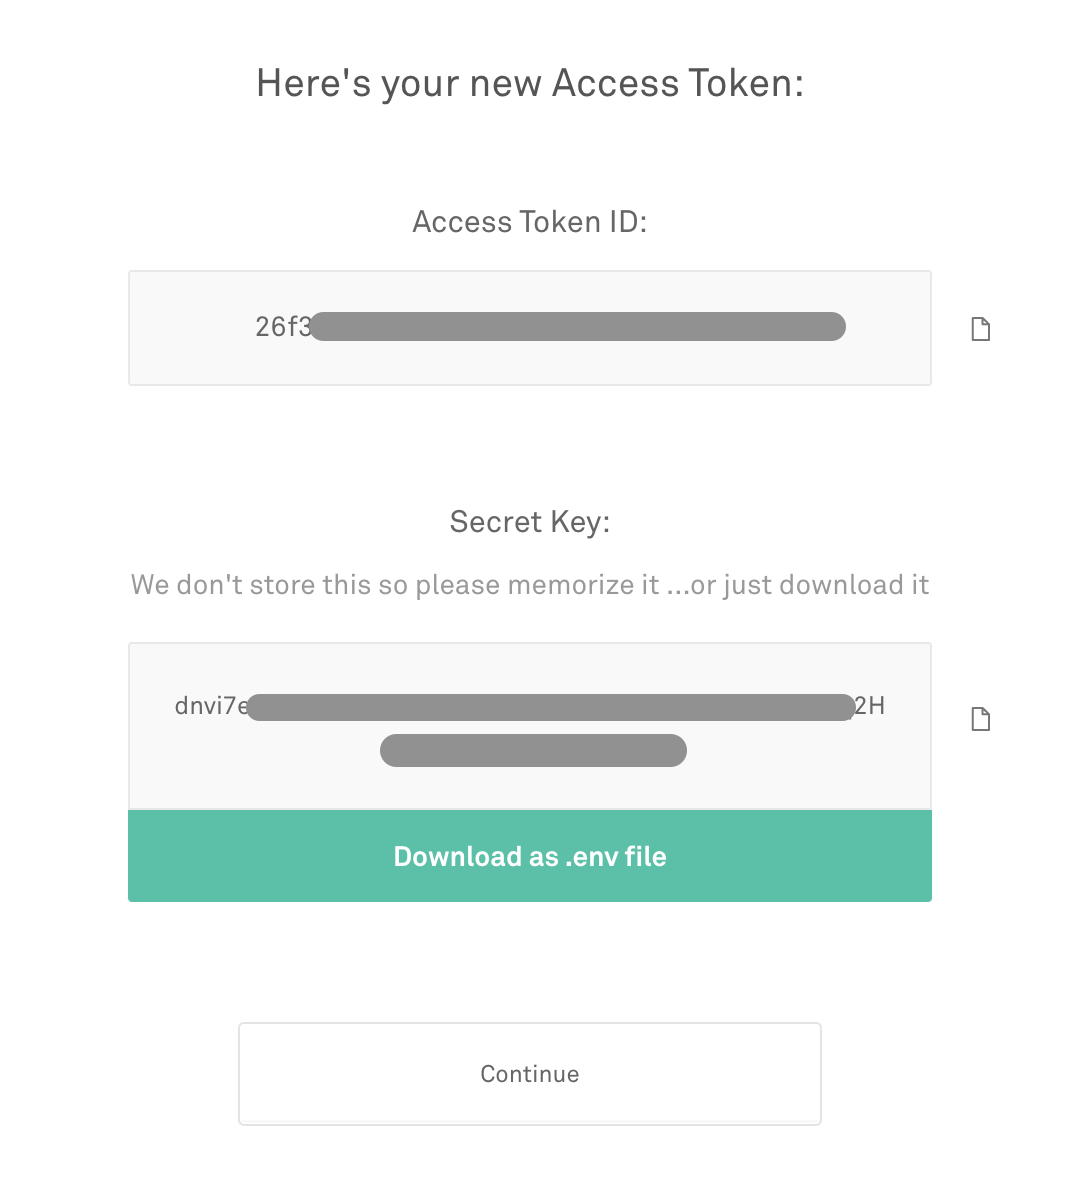
Copy these files and store them in a private folder. (Don’t commit these keys to the version control system — add them to .gitignore.)
Now, let’s dive into the main part, integrating the Mux API with a Flutter app.
App overview
We will build a simple Flutter app containing just two pages:
HomePagePreviewPage
Plugins
First of all, let’s add the plugins that we need for building this app to the pubspec.yaml file.
Building the backend
It’s always better to design the backend of an app first and then structure the UI based on the backend.
We need to build a simple API server to send the API requests to MUX. Though sending GET and POST requests directly from the client (mobile device) to the MUX server is convenient, it leaves massive security hole which may expose your MUX credentials to anyone who uses the app.
You can get a basic API server code written in node.js containing some functions that we require for our implementation here.
Now, inside the root folder, you have to create a file called .env with the following content:
Store your Token ID and Token Secret in this file and add it to .gitignore. The API server will automatically pick up the credentials from here.
For testing you can just run it on your local machine using:
This will run the server on port 3000, and you can access it from the client app using the URL:
http://localhost:3000
The backend of this app will deal with the API calls (i.e., GET and POST requests), so this will mainly consist of two parts:
- Mux client
- Model classes
Mux client
We will start building the client class by initializing the Dio. Create a MUXClient class inside a new file called mux_client.dart.
Now, create a Dio object:
Add a method initializeDio():
Here, we will configure the Dio but we don't need to perform any kind of authorization from the client as it is already being done from our API server.
Create a string.dart file containing some constants that we require afterwards:
The initializeDio() method will look like this:
Next, we need a method for storing the video to Mux by sending a POST request to the endpoint /assets. For this, create a method called storeVideo(), and pass the video URL to it as a parameter. This method will return the VideoData after processing on Mux is complete.
Here, I have used the checkPostStatus() method to track the status of the video that is being processed until it is ready. A GET request is sent to the endpoint /asset with the video ID as the query parameter to get a VideoData object containing the status information.
We will define one more method, getAssetList(), for retrieving a list of all the videos that are stored on Mux by sending a GET request to the endpoint /assets. It will return an AssetData object.
You may be wondering what the VideoData and AssetData classes are - they are just model classes for easily parsing the JSON data returned by the Mux API calls.
Model class
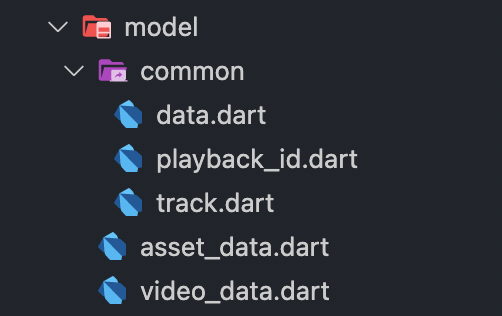
There are two main model classes that we need:
- VideoData: parses the data returned for each video file
- AssetData: parses the data returned for the list of assets (or videos)
You can define the model classes in this structure:
The VideoData class:
The AssetData class:
Both of them have three common sub-classes ( Data, PlaybackId and Track).
The Data class looks like this:
PlaybackId is given below:
The Track class is as follows:
HomePage
The HomePage will contain a TextField for taking the video URL as input and a button for uploading it to Mux. It also displays the list of all video assets present on Mux.

The HomePage will be a StatefulWidget. First, we will call the initializeDio() method and initialize a TextEditingController and a FocusNode inside the initState() method.
Let’s add a TextField and a RaisedButton for storing the video on Mux. The button will be replaced by a Text widget and a CircularProgressIndicator while the storage is in progress.
For displaying the list of all videos, you can add a ListView widget to the Column:
Here, we have parsed and formatted the DateTime object to display as a proper String. The thumbnail URL is created by using the playback ID and specifying the image type and size. The VideoTile widget is used for generating the UI for each list item. The class looks like this:
Each of the tiles is wrapped in an InkWell widget that has an onTap method for navigating to the PreviewPage, passing the asset data present at that index.
PreviewPage
This page will be used for viewing the video using the stream URL and for showing some information related to the video file.
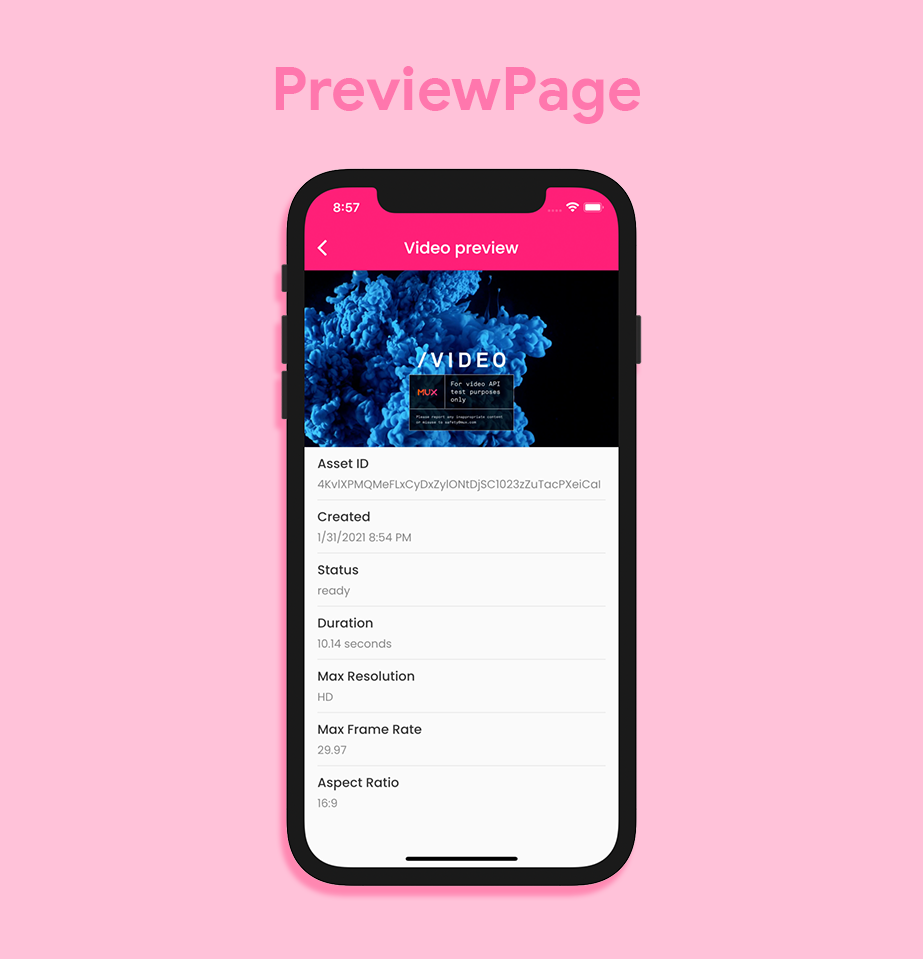
There will be a video player at the top of the page, followed by a list of Text widgets for displaying all of the information.
We have to create a VideoPlayerController and initialize it inside the initState() of this class.
I have used the Mux stream URL for loading and initializing the video controller. Also, _controller.play() is used to start playing the video as soon as it is initialized.
The video player is created inside the Column using the following:
For displaying the information, we can add this to the Column after the video player widget:
The InfoTile widget is used for creating the UI of each item in the Column:
Congratulations, you have created a Flutter app for streaming videos 🥳
Testing
Verifying whether you are getting the correct response from an API call while using a third-party service is very important. We will create some tests to mock the API responses and verify whether they are being correctly parsed.
You can use the plugin http_mock_adapter, which is created with a combination of dio and mockito. It is very effective when used alongside the dio plugin.
We will not go deep into the tests in this article. First of all, create a new file inside the test folder called mux_api_test.dart.
Let’s define three tests here:
You can run all the tests by using the command:
Running on Codemagic
To maintain a productive developer workflow, you should always run tests on a CI/CD service. You can set up and run tests on Codemagic in just a few minutes. To get started with Codemagic CI/CD, check out the blog post here.
Conclusion
This article covers all the aspects related to integrating Mux with Flutter and using it to stream videos, but while implementing it, you will also need a place to store the videos. Firebase Storage is a good option for this, and it works seamlessly with Mux by simply passing the URL of the video file. Don’t forget to explore the Mux API, as it provides many more customizations that you can apply while streaming a video.